Upload your image
Add a photo, diagram, or screenshot with upload, drag and drop, or paste so the angle is visible before you start measuring.
This walkthrough keeps the workflow simple: load the reference, place the vertex, rotate or resize the protractor, click to create a point, and export when the visual proof looks clean.
The fastest way to use Online Protractor is to work in order: add the image, place the protractor, measure the angle, and save the result when the view looks right.
Add a photo, diagram, or screenshot with upload, drag and drop, or paste so the angle is visible before you start measuring.
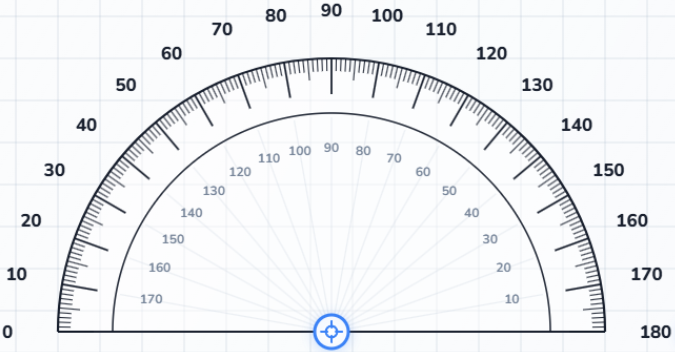
Move the center to the angle corner, then adjust the radius and rotation until the scale sits naturally on top of the image.
Add points on the canvas and drag each red ray until it follows the edge you want. The measurement cards update as you refine the view.
Review the reading, then export a PNG, PDF, CSV, Excel, or JSON file when you want to keep or share the measurement.
The tool gets smoother once you decide when to use snap, when to switch modes, and when to let auto-recorded points replace manual note taking.
Snap steps are useful for clean edges and diagrams. Turn them off for irregular shapes or small corrections.
180-degree mode is faster for standard geometry, while 360-degree mode keeps reflex angles and wraparound cases clear.
Create each point as you go instead of measuring several corners and trying to remember which number belonged to which point.
Online Protractor is most useful when the angle already exists in a photo, screenshot, or sketch and you need to explain it clearly to someone else after measuring it.
Measure roof lines, trim details, and corner joins directly on reference photos when you need a quick visual check.
Use screenshots to verify layout angles, motion directions, or alignment references during review.
Students can verify homework angles, while makers can validate cuts, joints, and workshop sketches.
Recheck the vertex first, then zoom your eyes in on the edge direction. A small center shift changes the whole reading.
Use the grid as a visual anchor and compare the edge against a reliable horizontal or vertical line before trusting the result.
Make sure the final point and protractor position are settled before exporting. The PNG and PDF outputs capture the current state of the workspace.